This resource is designed to help you provide your students with accessible PDF documents. The table below provides recommendations and links to appropriate guidance materials. Please note that the points raised here encompass both the values and ethos of the Universal design for Learning and the requirements of Accessibility legislation (Public Sector Bodies (Websites and Mobile Applications) (No. 2) Accessibility Regulations 2018) relating to resources made available via websites, including the Blackboard VLE.
Adobe provides a mechanism for checking the accessibility of documents in Acrobat and a full description of the method for running this check is provided at the end of the table below.
| What to think about | What to do |
| Start with an accessible Word document | Follow this link to see the information about preparing accessible documents in Microsoft Word. |
| Save to PDF | The best option is to produce and edit your document using Microsoft Word and then save it as a pdf.
Ensure that the new pdf document is tagged for accessibility (this should be the default in Word) and check the ‘create bookmarks using’ headings option. See the image and description below |
| Scanned documents | Do not scan documents to PDF as these will not be accessible to screen readers and other supportive technologies. |
There are a wealth of additional support materials available for Adobe Acrobat users at this link.
Ensuring that your PDF includes tags and bookmarks when you save a Microsoft Word document.
1) In Microsoft Word, select ‘Save as’ from the ‘File’ drop down menu.
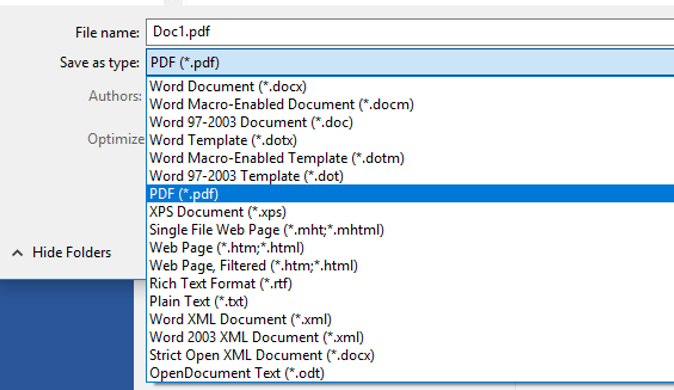
2) Use the ‘Save as type’ drop down menu to select ‘PDF (.pdf)’ and then give your document a descriptive File name.
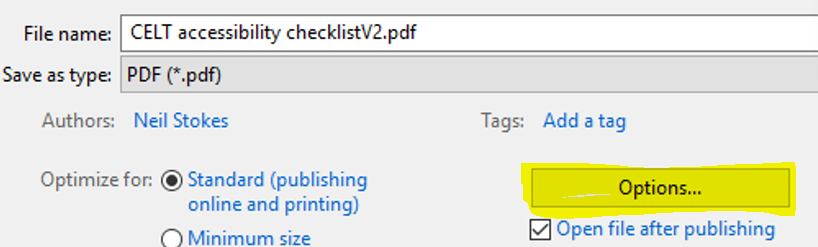
3) Select the ‘Options….’ button from the bottom of this pop-up window.
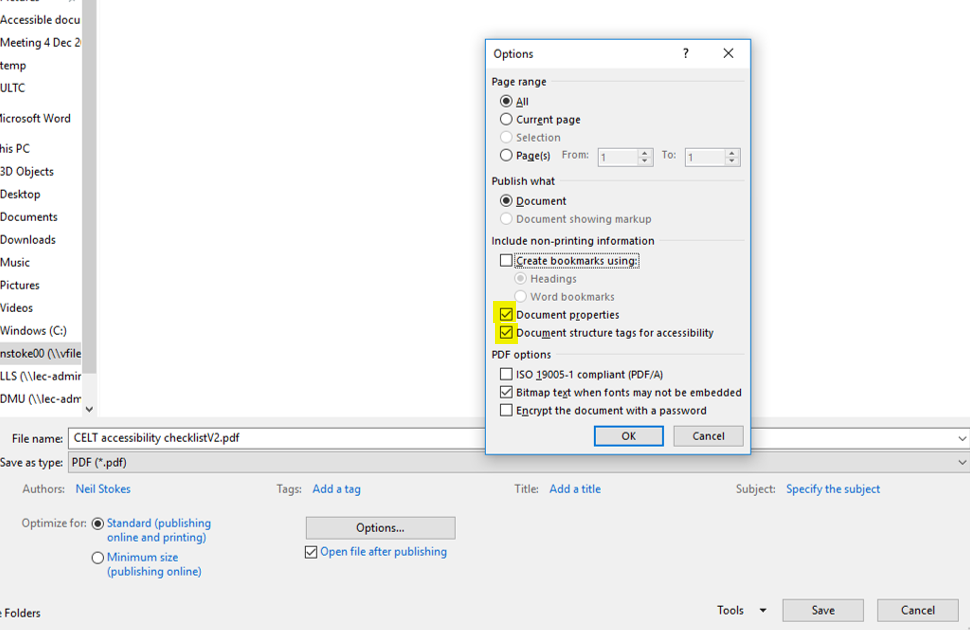
4) In the Options window that appears make sure that both the ‘create bookmarks using:’ with Headings and ‘Document structure Tags for accessibility’ are checked and click OK at the bottom.
5) Select ‘Save’ to and open the new PDF document in an accessible format.
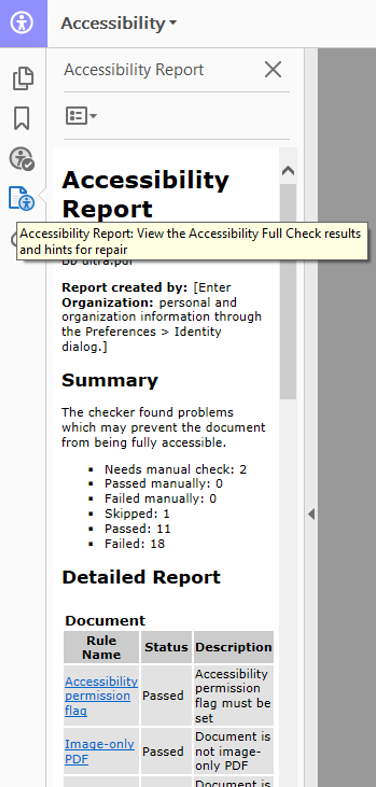
Assessing the accessibility of a pdf document in Adobe Acrobat:
1) Select the ‘Tools’ tab in the upper left hand corner
2) Select the Accessibility button in the Protect and Standardize series.
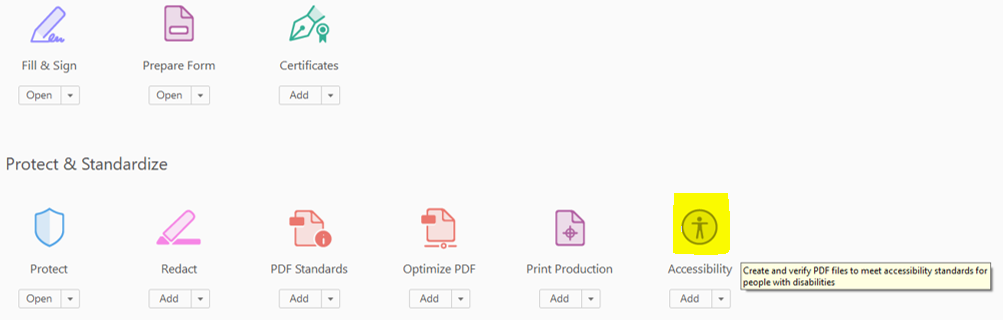
(For future use, you can add a shortcut to the Accessibility tool to your Adobe home page by selecting Add in the drop down menu below the icon. The icon will then appear in the list of tools on the right hand side of your home page when you next open a pdf document.)
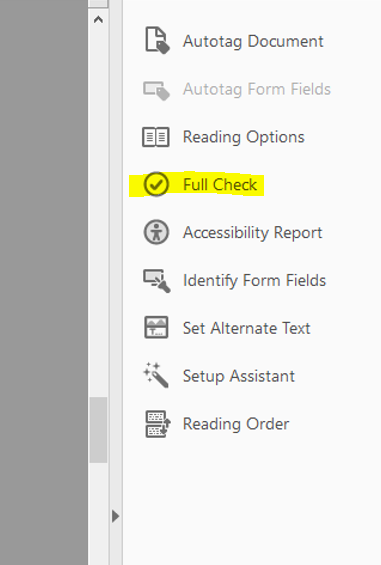
3) Select the Full Check option from the list in the panel that appears on the right hand side.
4) A pop up window will appear with the heading Accessibility checker options. There is no need to make any changes to the options.
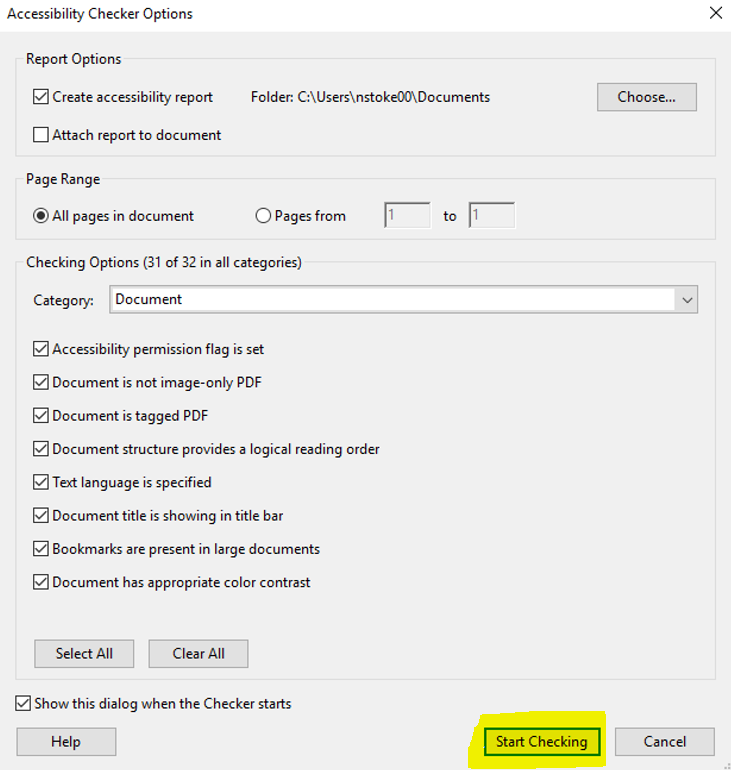
5) Select Start Checking at the bottom of the pop up window.
6) This will generate a panel on the left hand side that indicates the number and types of issues found.
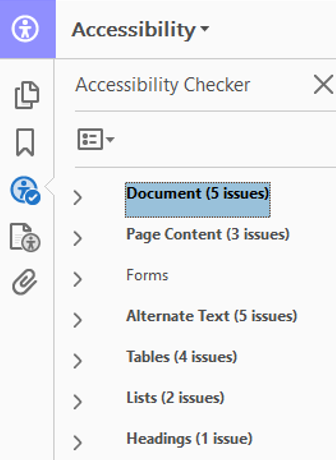
7) The accessibility report option can be selected, which provides a more detailed account of any issues identified and links to full explanations.