
There are two parts to this guide:
1. Creating a new Blockbuster quiz
2. Using a Blockbuster quiz in the classroom
How to use the PowerPoint template to create a new Blockbuster quiz
The approaches used in the development of this type of resource are considered advanced – and should only be undertaken by those who have a good understanding of PowerPoint. Developing the resource will also require a significant time commitment.
Click here to download a modifiable version of this guide
1. In preparation – create a MS Word document with all of the questions that you want to add.
2. Download the Blockbuster Quiz Template:
Click here to download a 25 question (5×5) Blockbuster Quiz template
Click here to download a 16 question (4×4) Blockbuster Quiz template
3. Open the Blockbuster template in PowerPoint
4. New questions must be added one at a time in the numbered order 1 to 25 (or 16).
5. Change the number in the grey hexagon to the letter that matches your answer. Do this by highlighting the number and typing in the new letter.
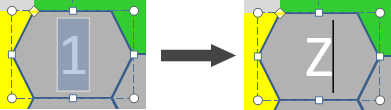
If you are using multiple letters (e.g. AB) you can make the font size smaller.
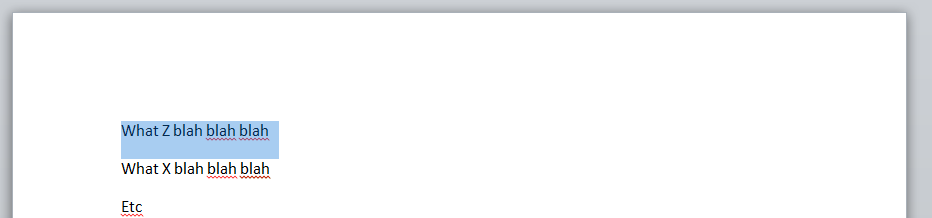
6. Change the matching number in the ‘Choose a question’ selection grid to match the letter on the hexagon.To do this, highlight the number and then type in the new letter.

If you are using multiple letters (e.g. AB) you can make the font size smaller.
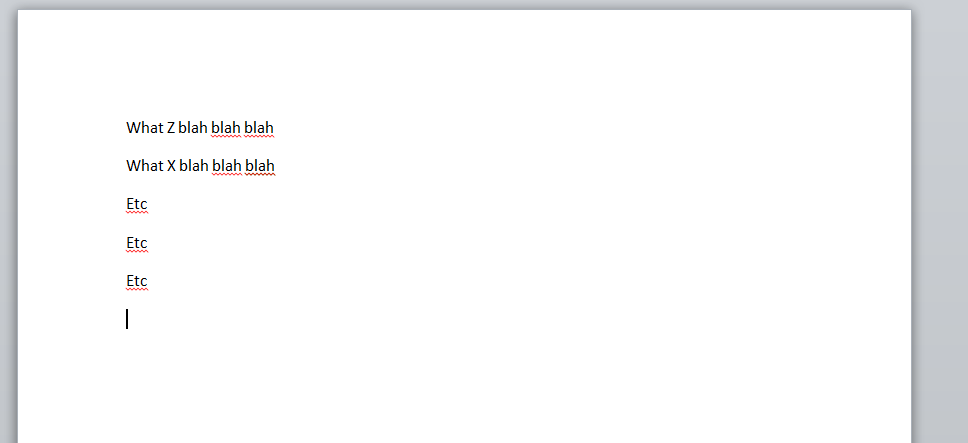
7. To add a new question, copy the question text from the Microsoft word document
and paste this question text into the question area on the powerpoint template (the blue rectangle at the bottom of the page)

If necessary you can make the font size smaller.
8. Click the Arrange tool and select Send to Back
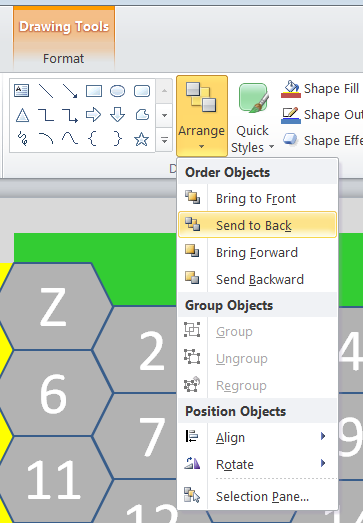
The current question area will disappear, to reveal the next question area.

NOTE: if at this point you want to preview your quiz to check that it is working – first you will need to click on the grey background rectangle to highlight it
then click the Arrange tool and select Send to Back
You will now be able to preview your quiz in presentation mode.
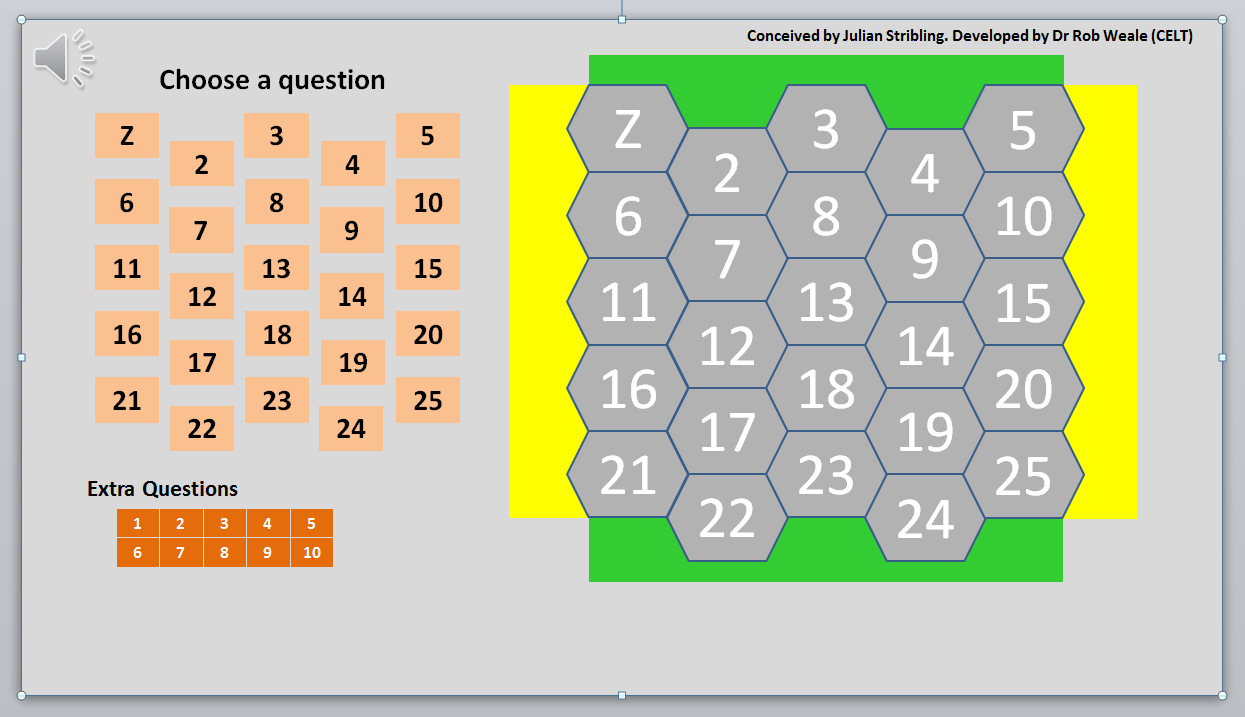
9. Repeat this process (steps 5-8) for all of the 25 questions (one by one in numerical order) – when you have done this the Extra question 1 rectangle will be visible.
10. Add the extra questions in the same manner as you did with the other questions, remember to send each rectangle to the back when you have added the question text.
11. When you have added all of the extra questions – click anywhere on the grey background rectangle to highlight it.
12. Click the Arrange tool and select Send to Back
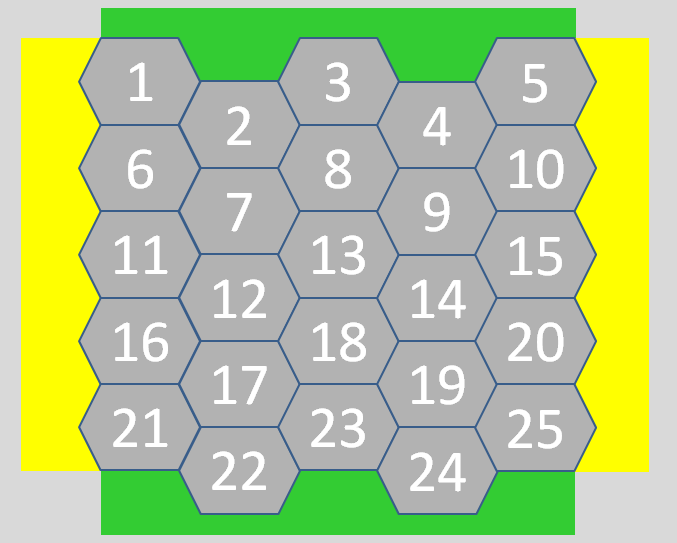
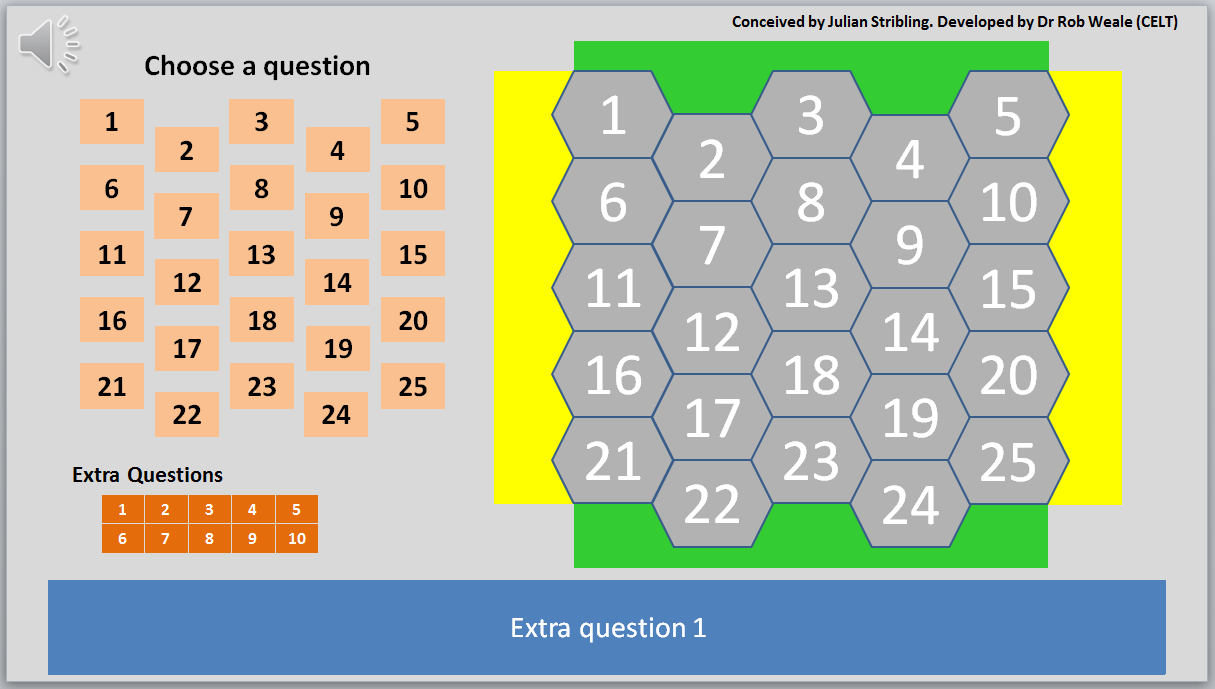
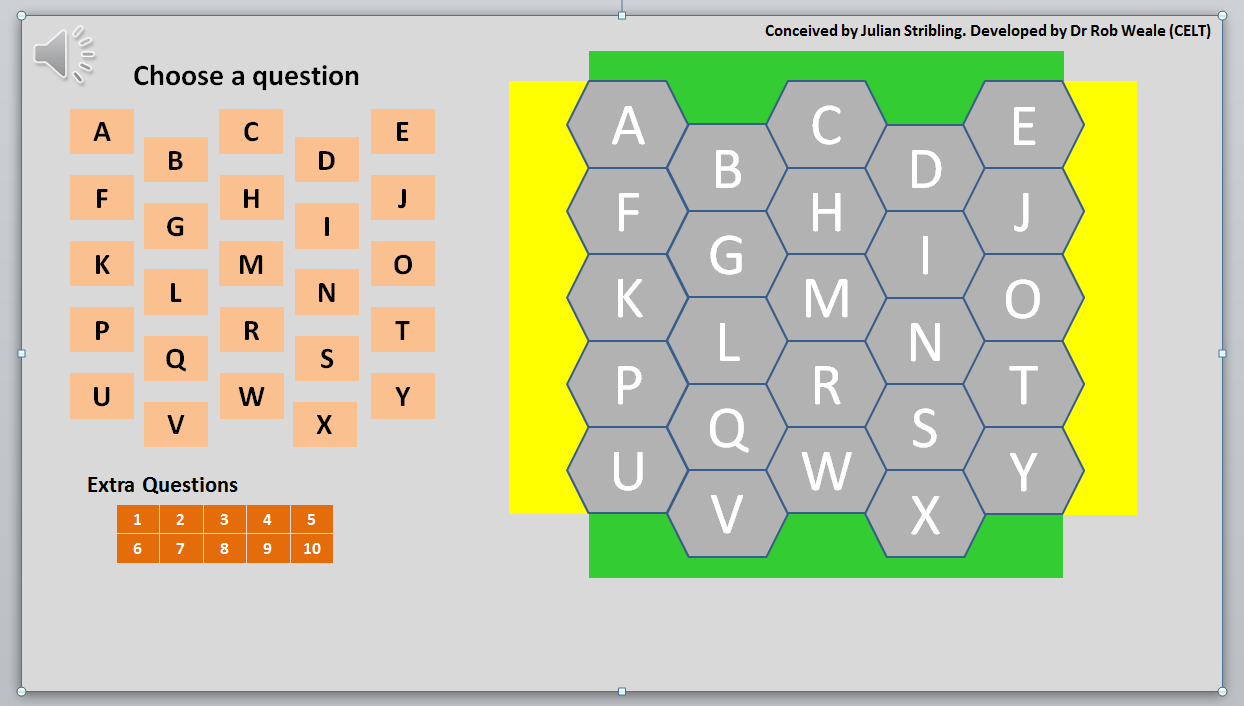
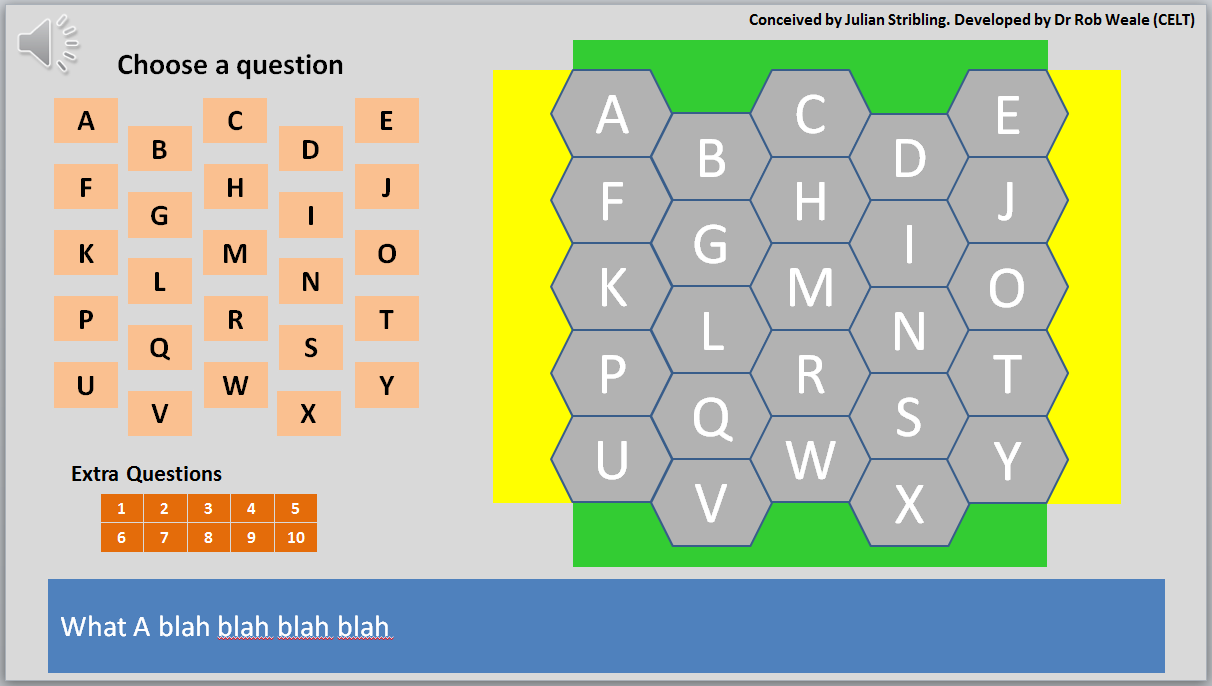
The template should now look like this.
13. Save your new Blockbuster Quiz
Using a Blockbuster quiz in the classroom
Click here to download a modifiable verion of this guide
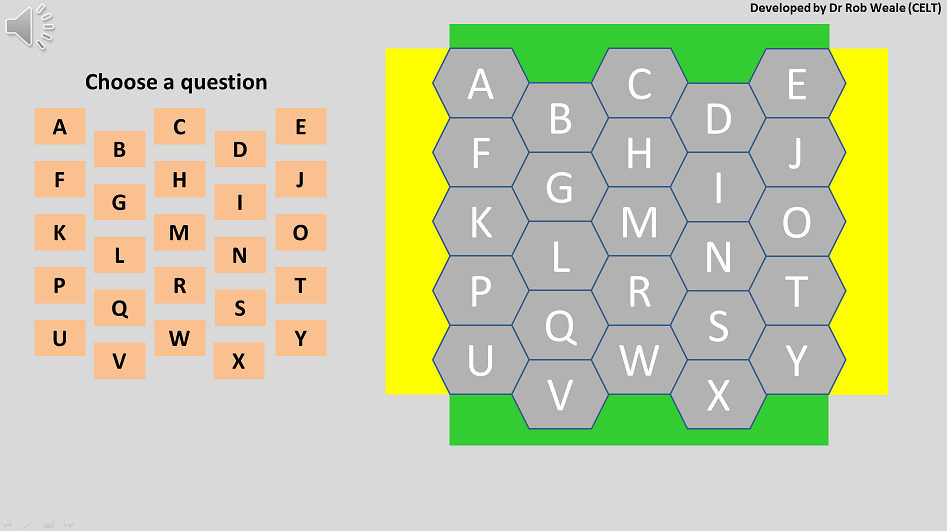
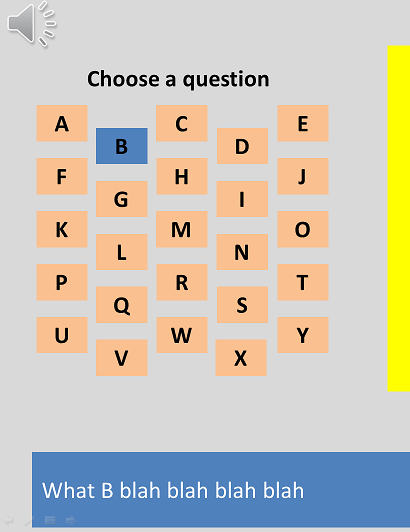
1. Open the Blockbuster quiz in PowerPoint and go into presentation view
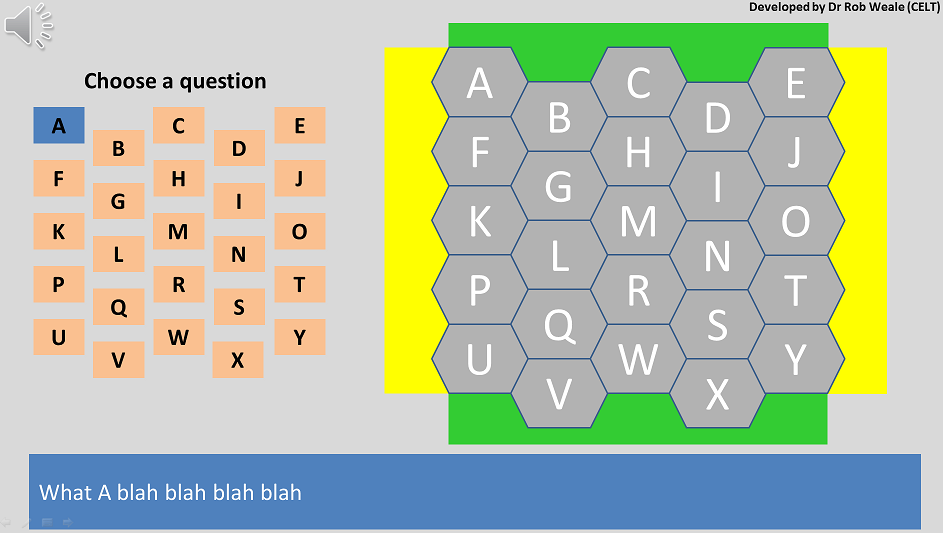
2. To reveal a question – click on the appropriate letter in the ‘Choose a question’ grid. The selected letter will turn Blue. E.g. A. The question text will appear at the bottom of the screen (in the blue rectangle)
3. To indicate which team (yellow or green) has got the correct answer – toggle the colour of the appropriate hexagon by clicking it. The hexagons will toggle between three colours – Grey, Yellow, Green and back to Grey.

4. You must then toggle the current question off by clicking the letter in the choose a question grid. E.g. A is toggled off – it goes from blue back to orange.

If you do not toggle the current question off you will not be able to see the next question when it is selected. E.g. both question A and B are selected below – but only question A can be seen.
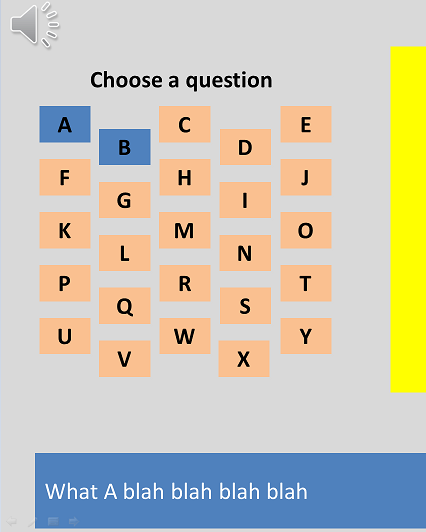
5. Toggle off question A and question B will be displayed.
6. If no one gives the correct answer for a question you can use one of the extra questions that you set up.
7. Click on an extra question number to reveal the extra question. Note: as with above the previous question must be toggled off in order to see the extra question.
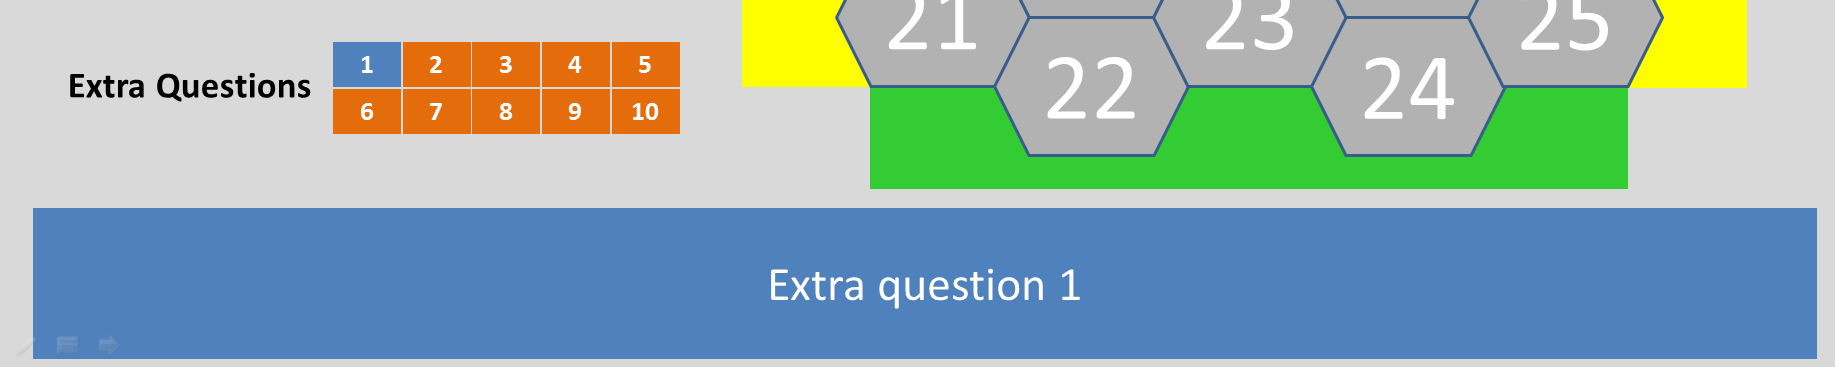
8. When the question has been answered click the extra question number again to hide the extra question box. The question number will turn red to indicate that it has already been asked. You can now continue to ask the regular questions.
