
Checking and fixing the accessibility of your PDFs

If you have Adobe® Acrobat® Pro DC it is straightforward to check the accessibility of your PDFs. Use the Accessibility Check tool to verify the accessibility of any document that you create.
To use the Accessibility Checker
Step 1: Acrobat tools
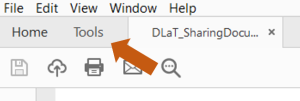
Open the file in Acrobat Pro, then open the Tools tab:
Step 2: Accessibility tool
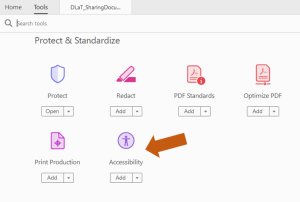
Select the Accessibility tool:
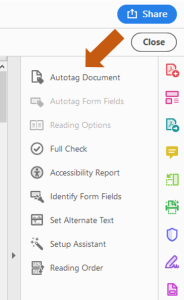
A secondary toolbar will open to the right of your document:
Step 3: Select Full Check/Accessibility Check
Select Full Check from the secondary toolbar:

Step 4: Select Accessibility Checker options
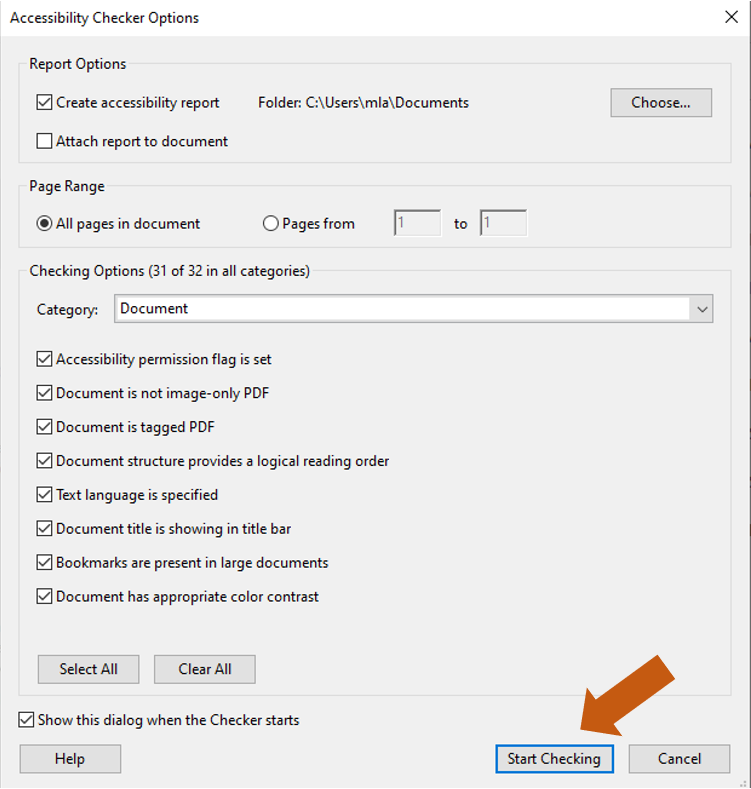
Select the options for your report, as there are a number of options available, you may prefer to leave them all selected until you are more familiar with each option. If your document is large it may be quicker to select each page individually. Select Start Checking.
Step 5: View results
Results will be displayed in the Accessibility Checker in the panel to the left of your document:
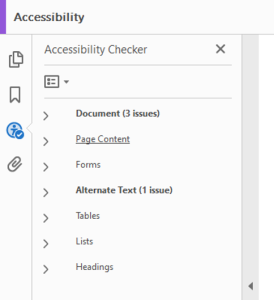
Step 6: Review the issues
Review each issue to see if they need resolving or can be ignored:
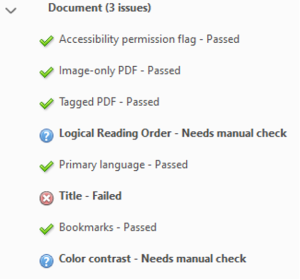
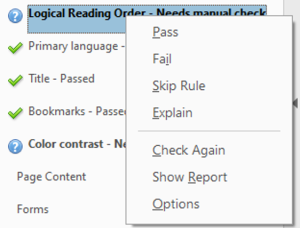
By right clicking on an issue you can pass or fail an issue:
Some issues can be automatically fixed. Click on an issue to select it (this example shows that the document does not have a title, which is a common problem):

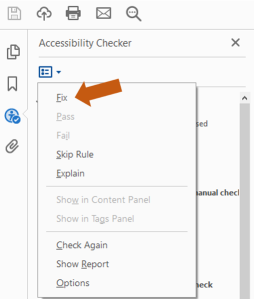
Step 7: Fixing an issue
Open the context menu to fix or read an explanation of the issue. In this example, choose Fix from the context menu:
The Description panel opens to fix the issue which shows the empty title text box:
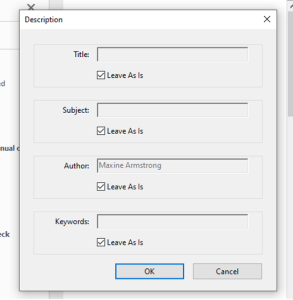
In this example, a title has been added and the ‘Leave As Is’ option is unselected:
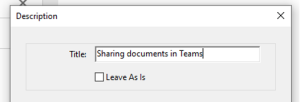
The title issue is now marked as passed:

Further information on accessibility rules and the status icons is available at Create and verify PDF accessibility, Acrobat Pro (adobe.com). There is also further information on reflowing and setting accessibility preferences.
Step 8: Close the Accessibility Checker
Close the Accessibility Checker and resave the document when you are satisfied all the issues have been resolved or can be ignored.
To Create a PDF in Acrobat Pro DC
Although many documents can be converted to PDFs in their native application such as Microsoft Word, if you create a PDF directly in Acrobat you can enable accessibility and reflow options to minimise the issues created.
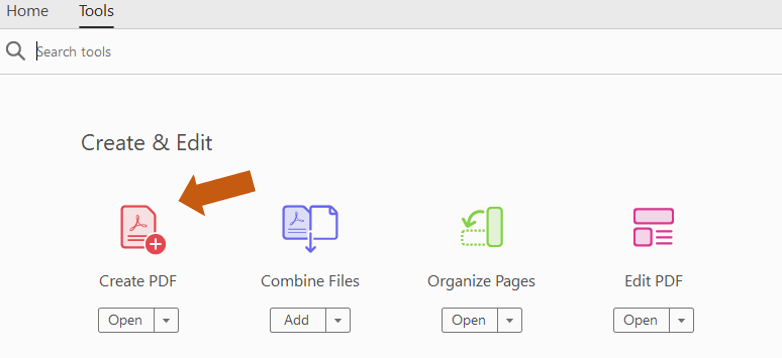
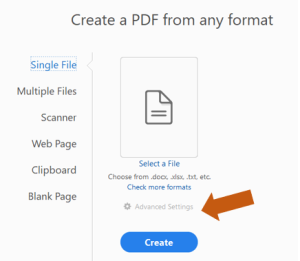
Step 1: Create a PDF
Open Adobe® Acrobat® Pro DC and select Create PDF:
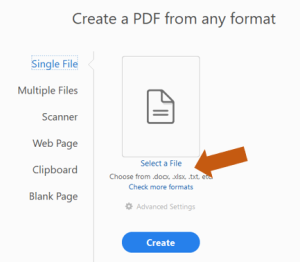
Step 2: Select your file
You can select a file to convert such as a Microsoft file. You can check which other formats can be converted by selecting Check more formats:
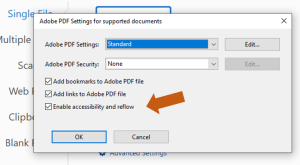
Step 3: Advanced Settings
Select Advanced Settings:
Ensure that Enable accessibility and reflow is selected under the Advanced Settings:
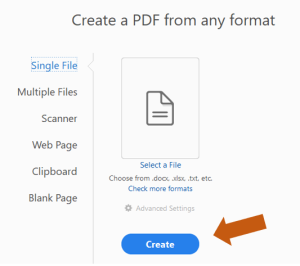
Step 4: Create and save document
Select Create and save to an appropriate location.
Banner Photo by fauxels from Pexels. Adobe® product screenshot(s) reprinted with permission from Adobe.