
Making your PowerPoint accessible

Here are some simple steps to ensure your PowerPoint presentations are accessible to all users. By ensuring your presentation can be accessed by users of assistive technologies, such as screen readers, you are ensuring your presentation is inclusive and not discriminatory.
1. Start with an accessible template and theme
You may have been provided with a university template that includes a theme, but if you need to choose a theme for your presentation, ensure you select one with a strong contrast and a simple background. For more details, read the forthcoming Using templates in PowerPoint to create clear and accessible slides.
2. Ensure there is a strong contrast between text and background images
It can be difficult to read text, when the text is faint or it overlays a jazzy background image. The smaller the text the stronger the contrast needs to be, so for headers you should use a contrast ration of 3:1 as a minimum, but for paragraphs of text a higher ration of 4.5:1 would be better. If you are creating your own theme you can check the contrast using an online colour checker, such as: WebAim’s Contrast Checker.
3. Give each slide a unique title
This will help screen reader users to navigate when they are skimming through the titles. If a slide spills over onto a subsequent slide consider using ‘slide title 1 of 2’.
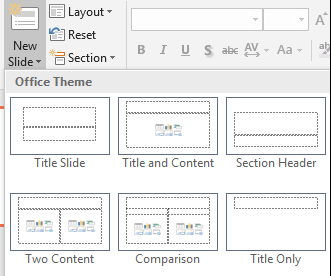
4. Select a suitable layout for each slide
Try to ensure you select a layout for each new slide that best fits the content on the slide. This will ensure that the slide is read out in the correct order by a screen reader. You can use the placeholder items to add text and other content to the slides.
5. Check the reading order of slides
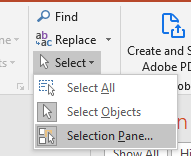
A screen reader will follow the ‘reading order’ of a slide; so you need to ensure it reads it in the order that you intended. If you have added text boxes or other objects to a slide they may be read out of order, so ensure you check the reading order. You can check the reading order by opening the Selection Pane available under the Home tab on the ribbon (under Editing open the drop-down list for Select).
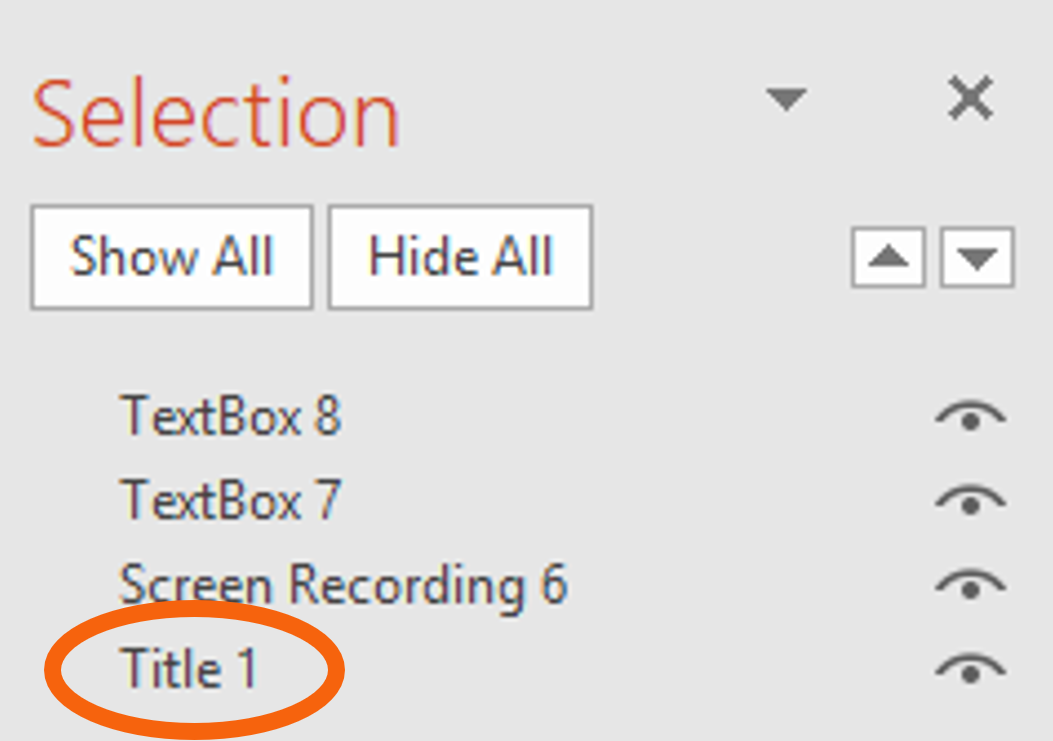
Items should be arranged from the bottom up, so ensure the title is at the bottom of the list. Content can be dragged and dropped into the correct order.
6. Use an adequate font size
Test that is small and cramped is difficult for many to read and may be impossible for someone with dyslexia. So, ensure that any text on your slide is an adequate size and has plenty of space around it.
7. Don’t rely on colour to convey information
Any user with low vision or who is colour blind will not be able to distinguish the information if it is only conveyed in colour. By all means use colour but also ensure that there is something else to distinguish the colours, such as using patterns, or different shapes. Underlining links can help identify them for people who are colour-blind.
8. Add alt text for visual components
Alternative text (alt text) is important for people who cannot see the screen and rely on a screen reader. Using Alt Text to describe the image ensures users do not miss out on any information provided by the image.
9. Add meaningful hyperlinks and screen tips
To ensure a screen reader user can distinguish between different hyperlinks ensure that the text displayed for each link is different and meaningful. Multiple links that say ‘Click Here’ are not helpful as you cannot distinguish which link you are clicking on. Screen Tips are read out when a user cannot see an image so again make sure that they are meaningful. ‘De Montfort University’ is more meaningful as a description than ‘logo’.
10. Add subtitles/closed captions and an audio description to video
These two accessible features are often confused and assumed to be the same. Subtitles or closed captions are used for people who are hard of hearing, whereas an audio description is used by people with low vision. Therefore, both serve very different purposes and both need to be added to any audio-visual media used in your presentation.
11. Only use tables when you need them
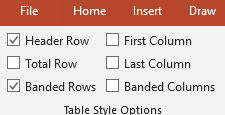
Do not use tables to lay out content if the content does not need a table as a screen reader counts cells to locate itself in any table and this can become unnecessarily confusing. If you need to use a table, lay it out so it can be easily read by a screen reader e.g. avoid merging cells and use headers. To identify the headers, select the Design tab from Table Tools and check the headers used under Table Style Options.
Finally, choose a table style where the headers are clear visually and ensure there is a strong contrast between all the text and background.
The Accessibility Checker can be used to check a number of these steps such as missing alt text and the slides reading order. Find out how by reading Using the Microsoft Accessibility checker in Word and PowerPoint coming soon.
Banner photo by fauxels from Pexels. Screenshots used with permission from Microsoft.